Customizing the firmware
Since the Home Assistant Glow's firmware is based on ESPHome, making customizations to the firmware is as easy as editing some YAML. The best way to modify the firmware config is by installing the ESPHome Dashboard.
Adopting the Device
Once ESPHome Dashboard is running, and your Home Assistant Glow is connected to your network, it should prompt you to adopt it.
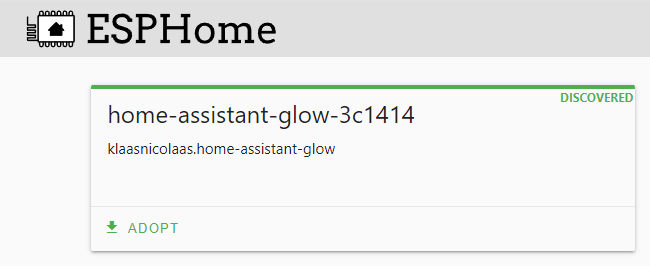
Go through the adoption flow; it will do these things:
- Create an ESPHome configuration file
- Set an API encryption key (used by Home Assistant or other native API consumers)
- Bake the Wi-Fi credentials into the firmware
- Install the new firmware to the device
Understanding the Configuration
Components
To keep things maintainable and to make it easier to build firmware for different board types, each large part of the configuration is broken up into its own "components". There are currently three components, all of which are included in the base config:
basis.yaml: Entities related to the basic functionality of the devicepulse_meter.yaml: Entities related to the pulse meterstatus_led.yaml: Entities related to the status LED
All of these components can be found on the GitHub repository.
Make customizations
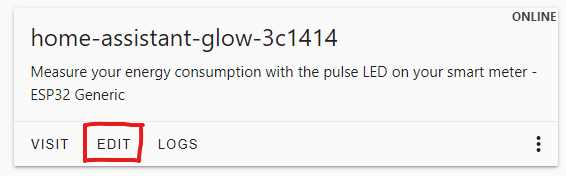
After adopting the device, you can make customizations to the firmware by editing the YAML files. You can do this by clicking the EDIT button in the ESPHome dashboard. This will open the YAML editor, where you can make changes to the configuration.
When you open the YAML editor you will see a minimal configuration of your Home Assistant Glow, if you want to make adjustments to, e.g., the pulse_meter component then the best way is to use an !extend.
sensor:
  - id: !extend sensor_energy_pulse_meter
    internal_filter: 100ms
With the above example you will add an internal_filter, which can be useful if high power values are measured.